콘솔에 차트 등록하기
1. 차트 템플릿 다운로드
차트 예시 파일 다운로드를 클릭하여 차트를 다운받습니다.
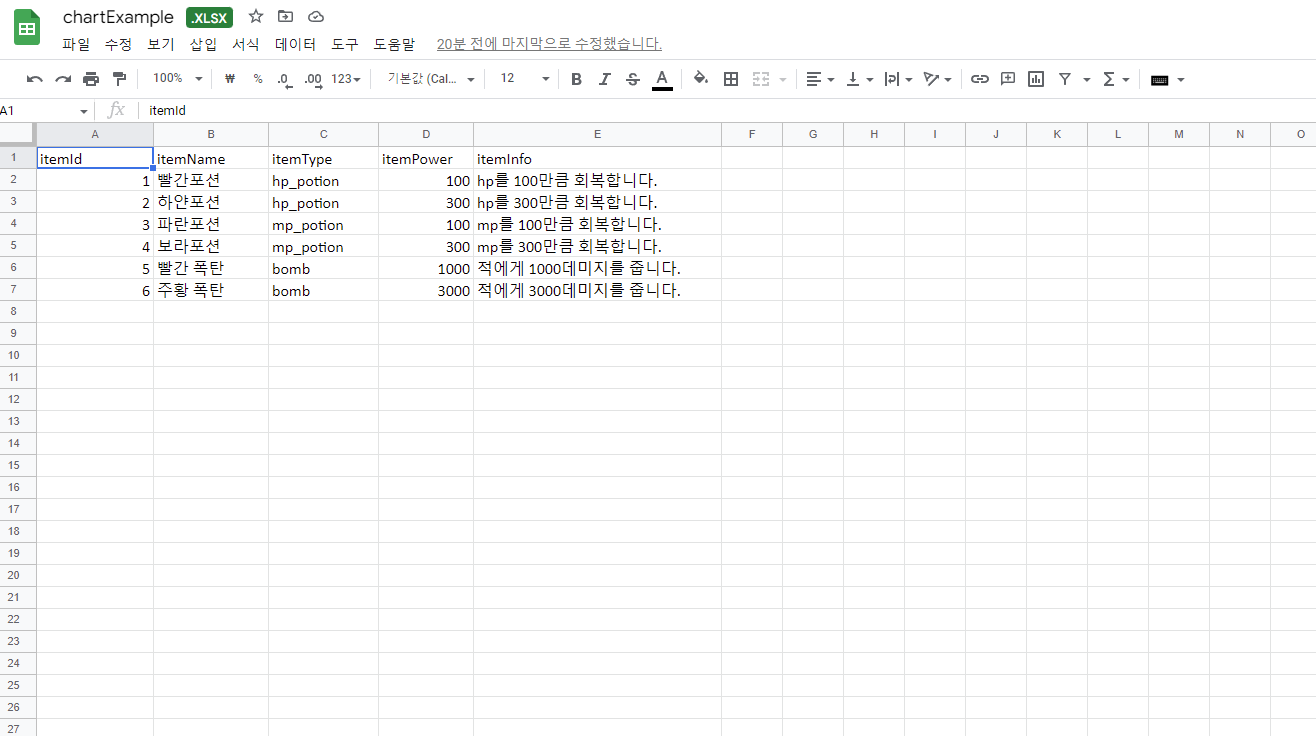
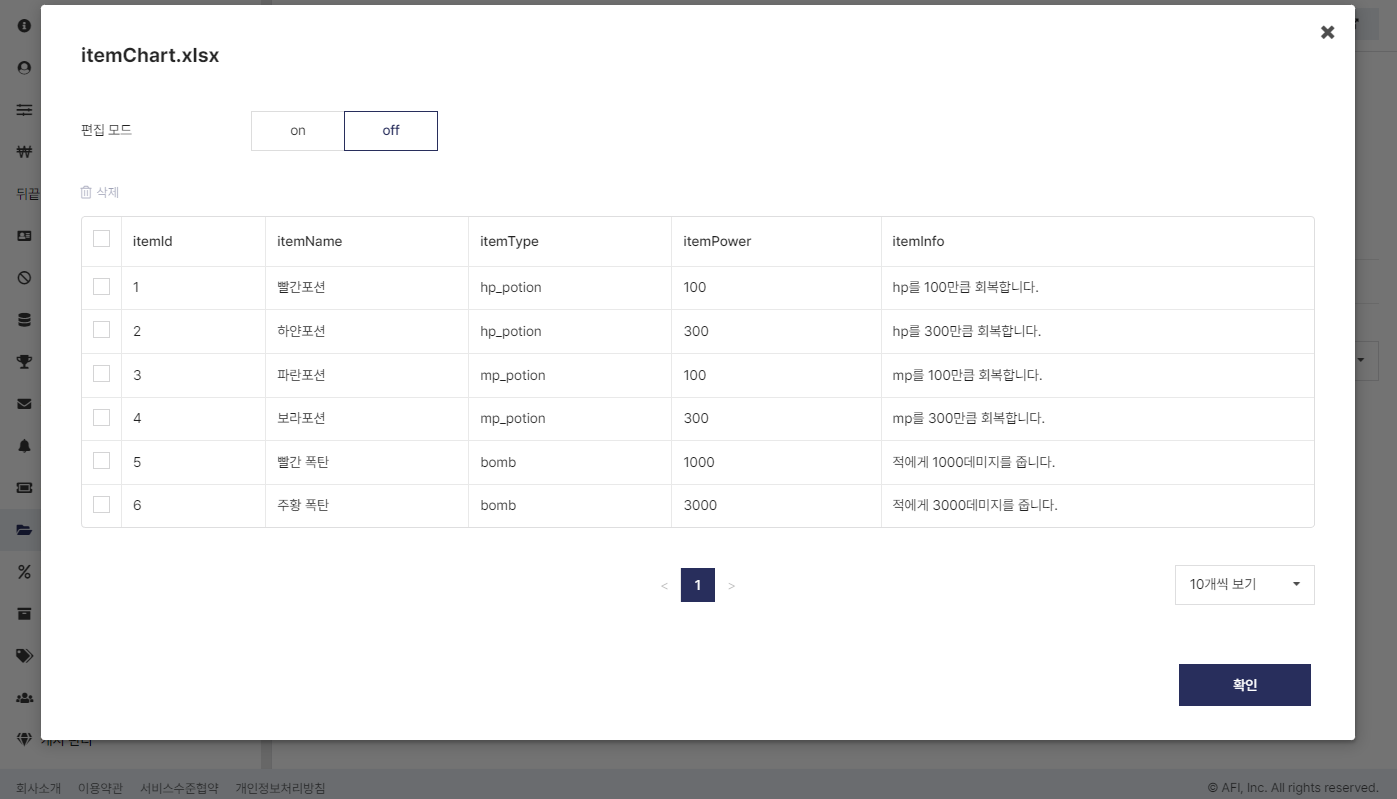
예제에서는 차트에 다음과 같은 열을 가집니다.
- itemId : 아이템의 고유값, int형으로 정의
- itemName : 아이템의 이름, string형으로 정의
- itemType : 아이템의 종류, string형으로 정의
- itemPower : 아이템의 사용값, long형으로 정의
- itemInfo : 아이템의 설명, string형으로 정의
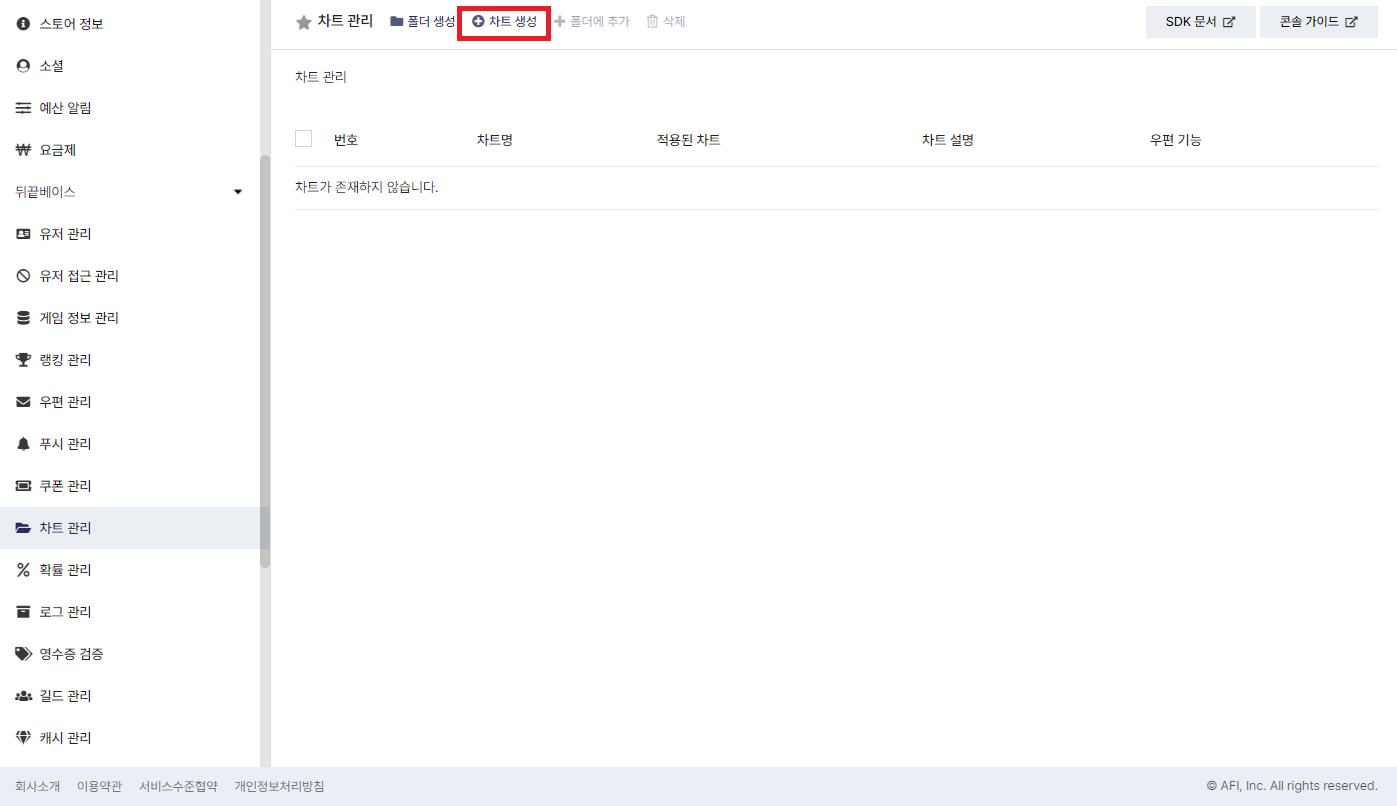
2. 뒤끝 콘솔에 차트 파일 업로드
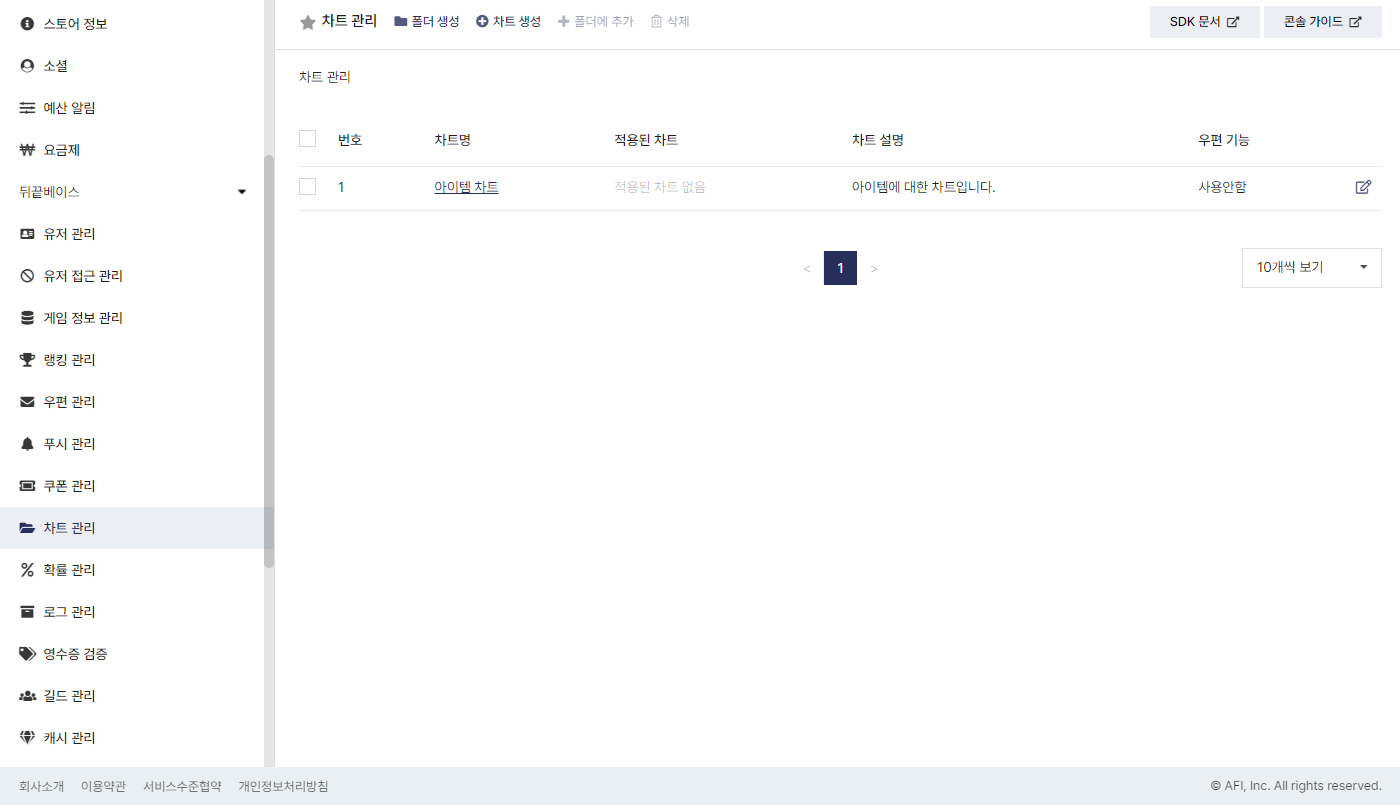
뒤끝 콘솔 뒤끝베이스 > 차트 관리에서 상단의 차트 생성 버튼을 클릭합니다.
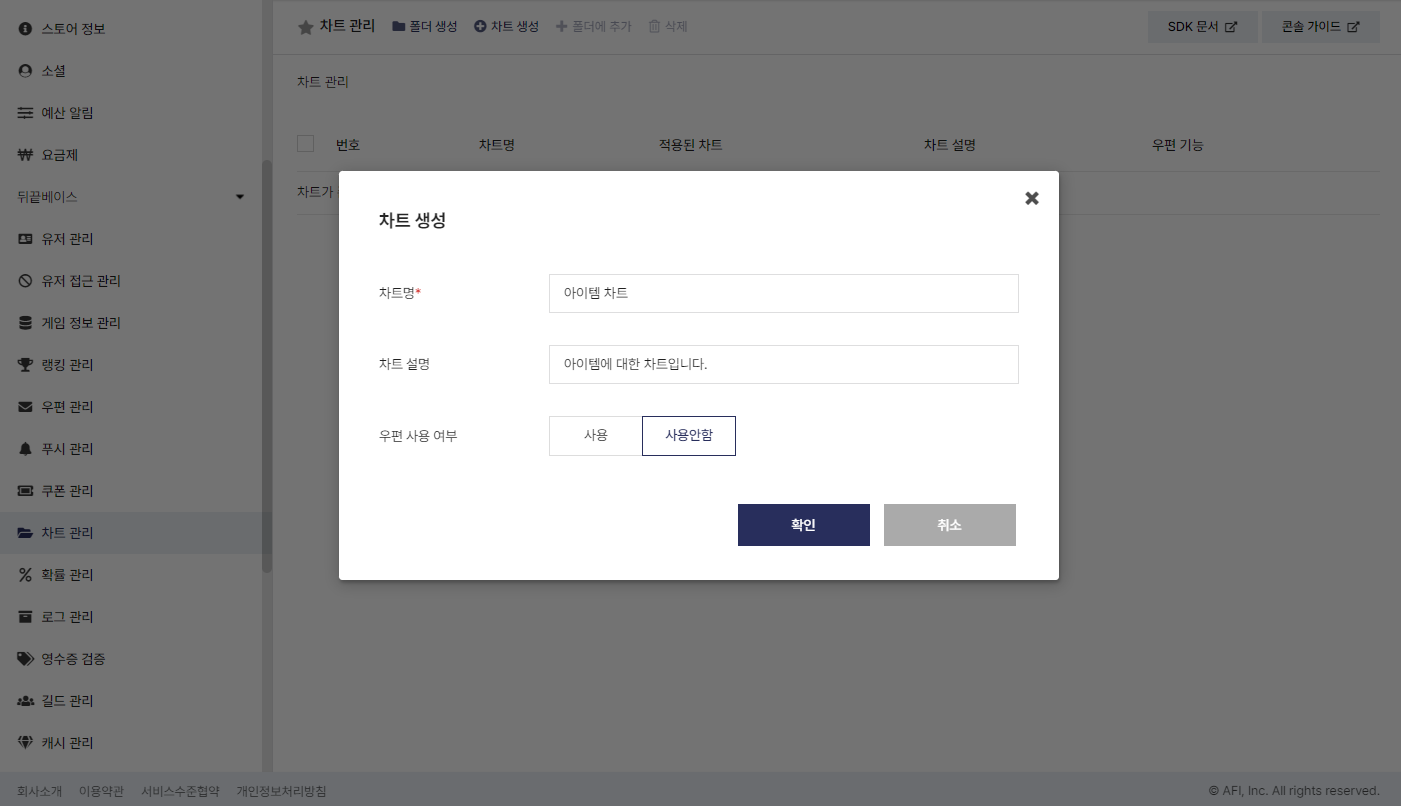
3. 차트 정보 입력
차트에 자신이 사용할 차트 정보를 입력합니다.
해당 예제에서는 아이템 차트라는 이름으로 사용되고 있으며 해당 차트 이름을 변경하여 사용할 경우, 우편과 쿠폰 가이드라인에서 코드 수정이 필요합니다.
4. 차트 파일 업로드
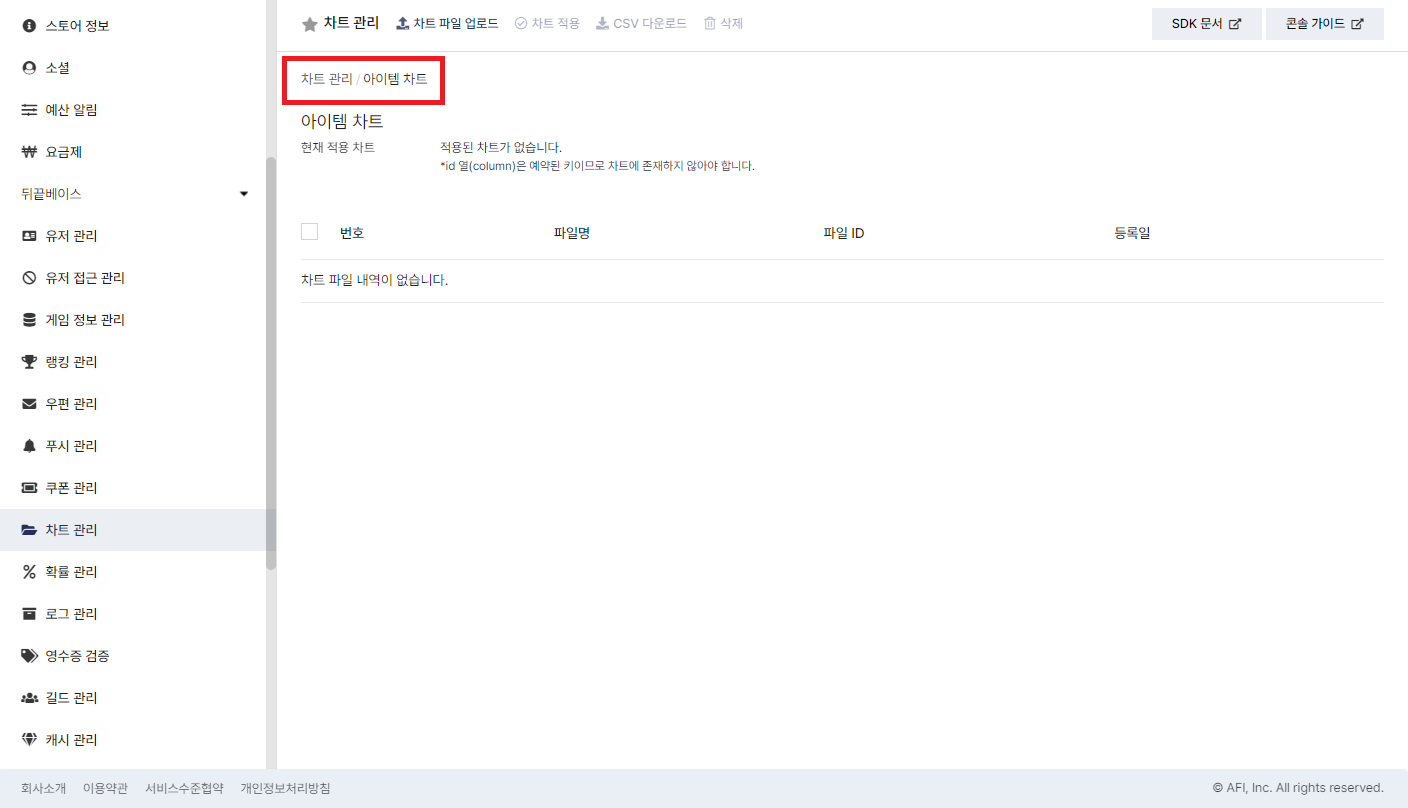
생성된 차트를 클릭하여 차트 상세 페이지로 이동합니다.
위 차트 파일 업로드 버튼을 클릭하여 차트를 선택한 후 업로드합니다.
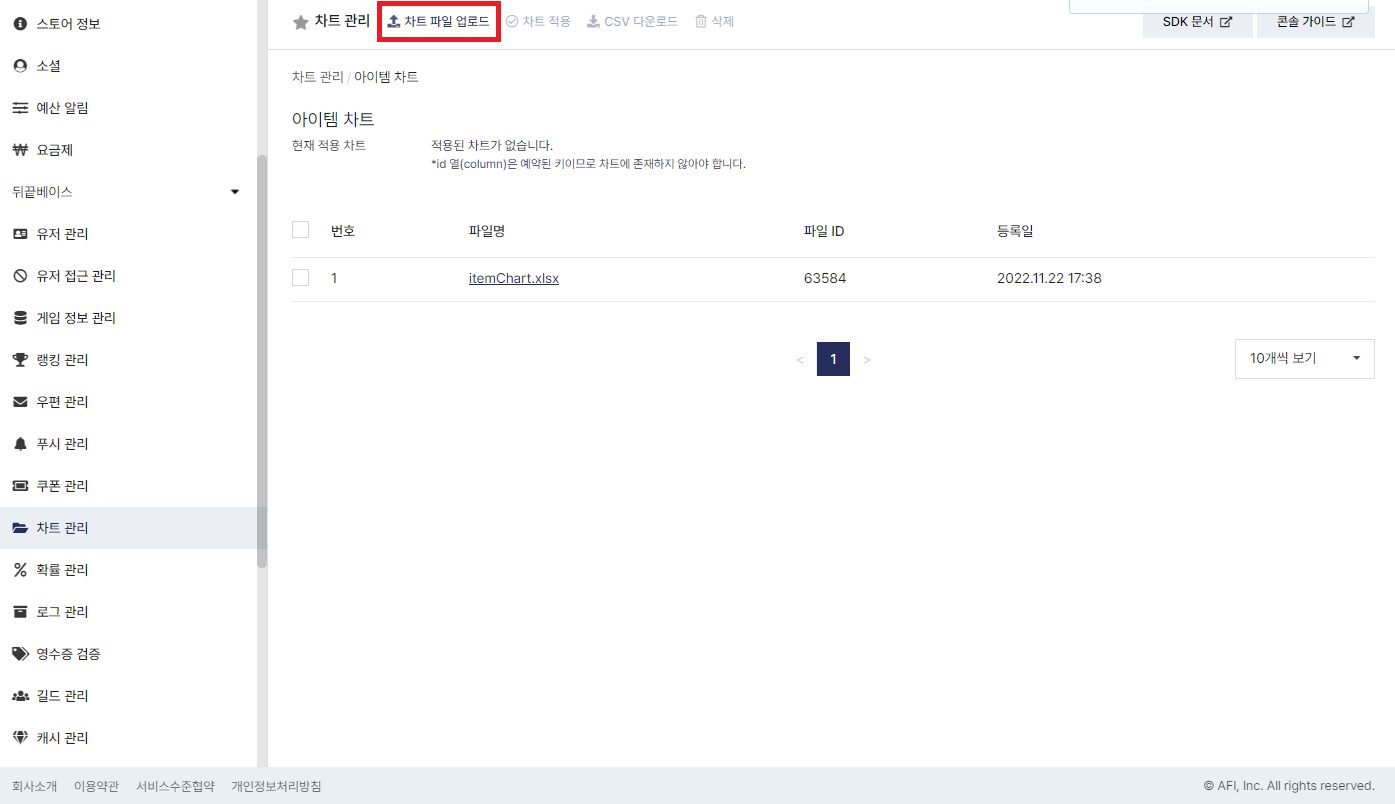
업로드가 완료되었으면 해당 차트를 클릭하여 엑셀로 작성한 내용을 확인할 수 있습니다.
5. 차트 파일 적용
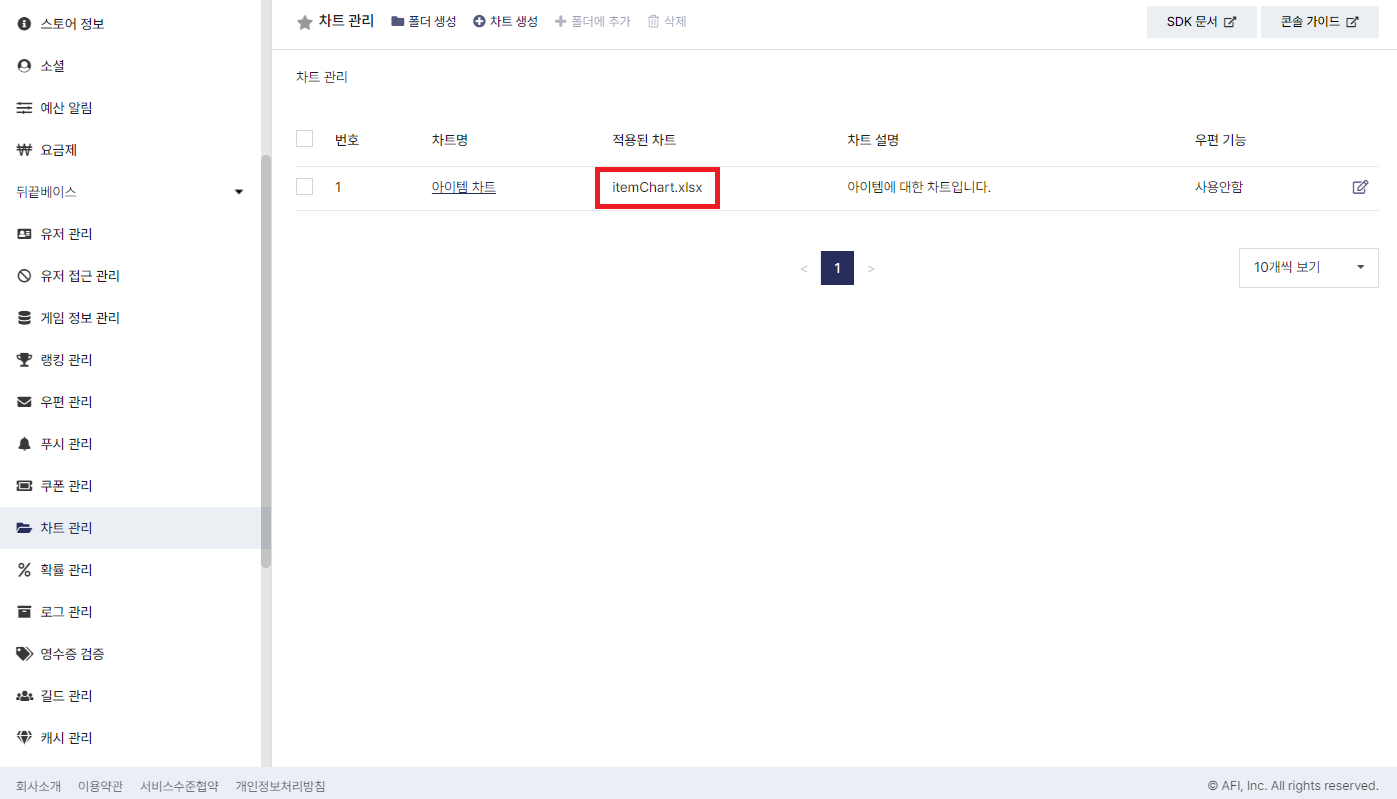
업로드된 차트 좌측의 체크박스를 선택한 후, 차트 적용 버튼을 클릭합니다.
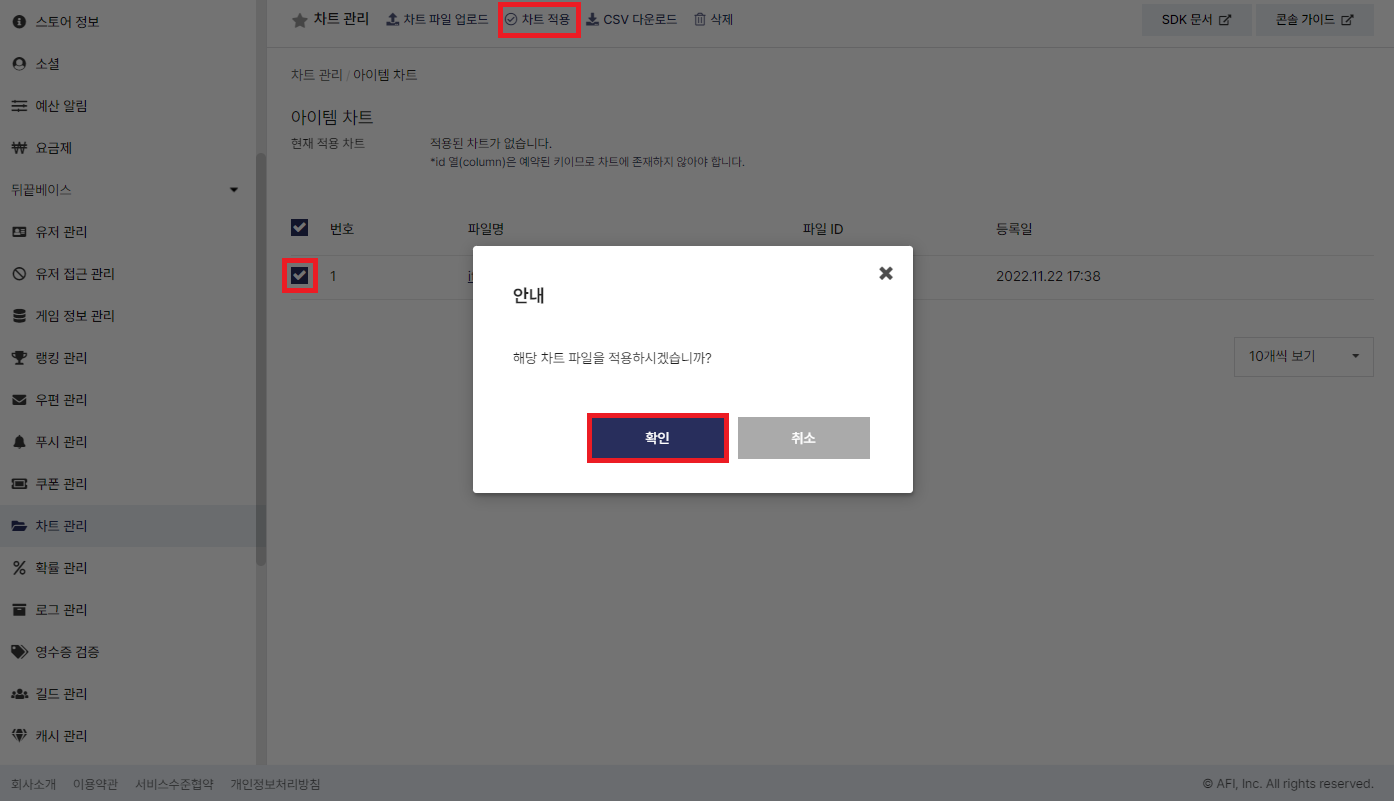
이후 다시 차트 관리 페이지로 돌아와 적용된 차트에 방금 올라간 차트가 등록되어 있는지 확인합니다.