insert
BACKND Guidelines > 4. Implementing Chart Functions > Step 2. Registering Charts to the Console
Registering Charts to the Console
1. Download the chart template
Click Download example chart file to download the chart.
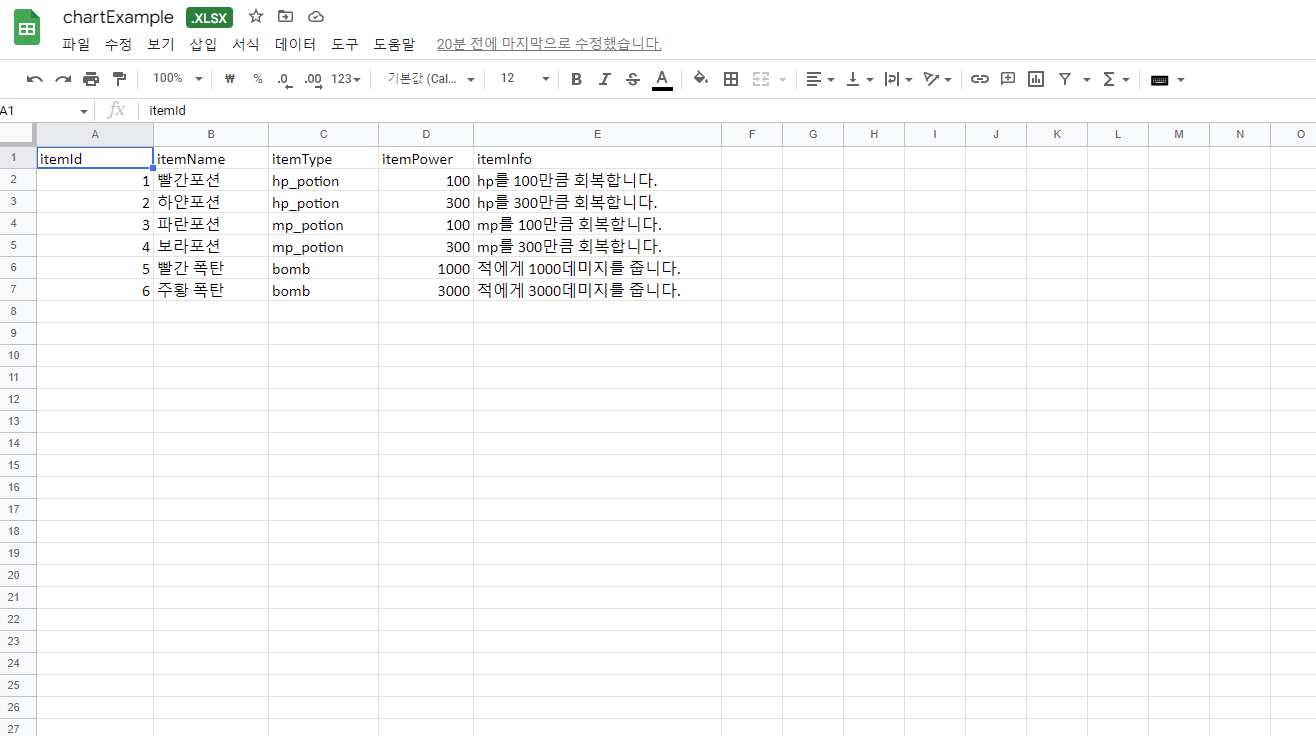
The example chart has the following columns:
- itemId: a unique value for an item, defined in int type
- itemName: name of the item, defined in string type
- itemType: type of item, defined in string type
- itemPower: use value of the item, defined in long type
- itemInfo: description of the item, defined in string type
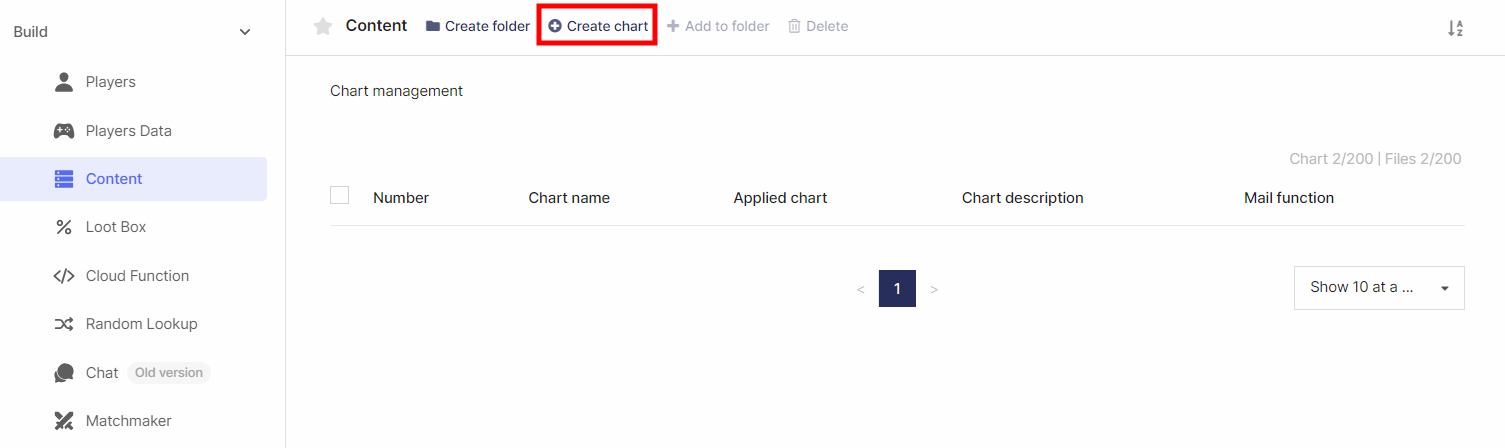
2. Upload the chart file to BACKND Console
Go to BACKND Console, and in BACKND Base > Chart Management, click the Create Chart button at the top.
3. Enter chart information
Enter the information you'll use in the chart.
The chart in this example is used under the name, Item Chart. If this name is changed, the code needs to be changed in the mail and coupon guidelines.
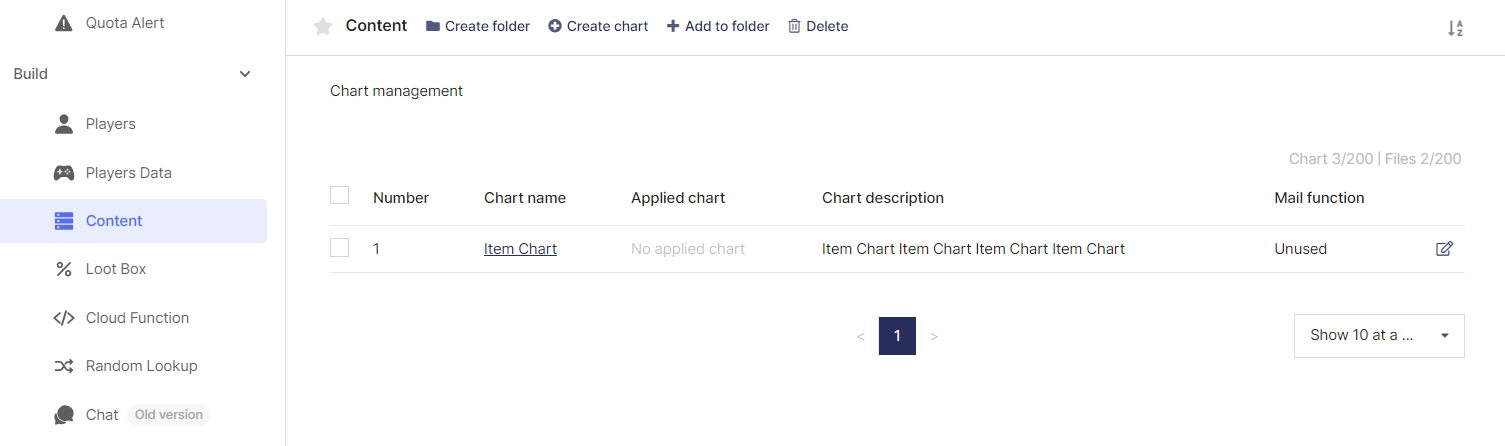
4. Upload chart file
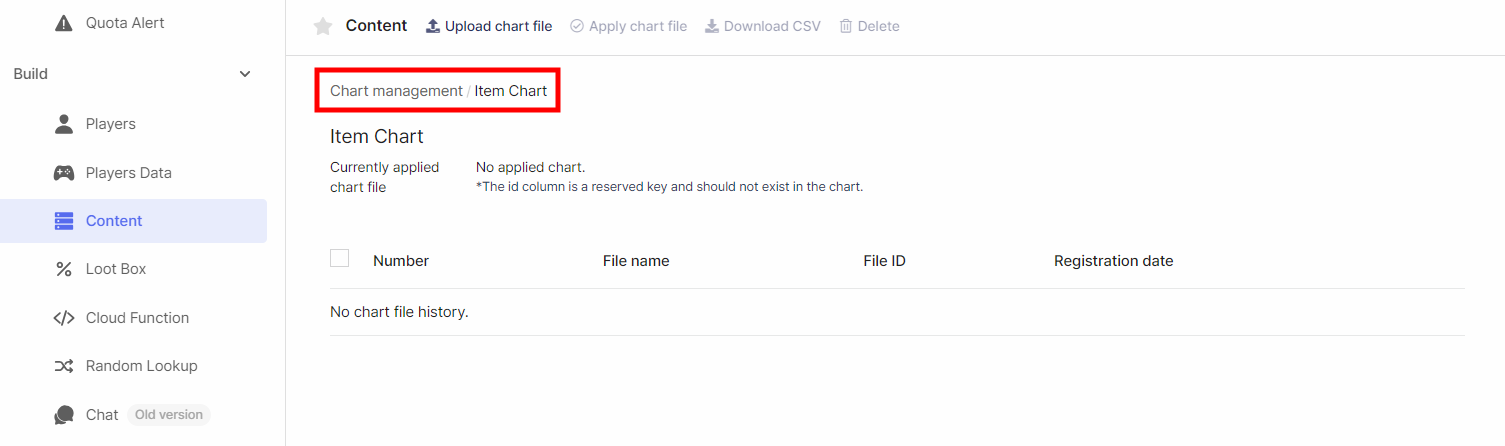
Click the created chart to go to the chart details page.
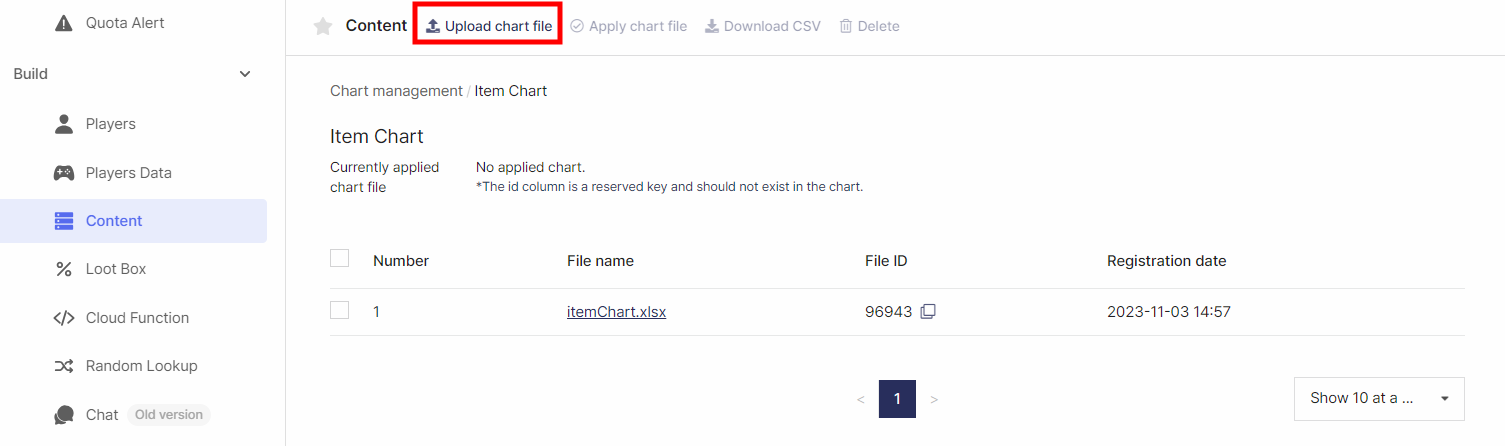
Click the Upload Chart File on the top to select and upload a chart.
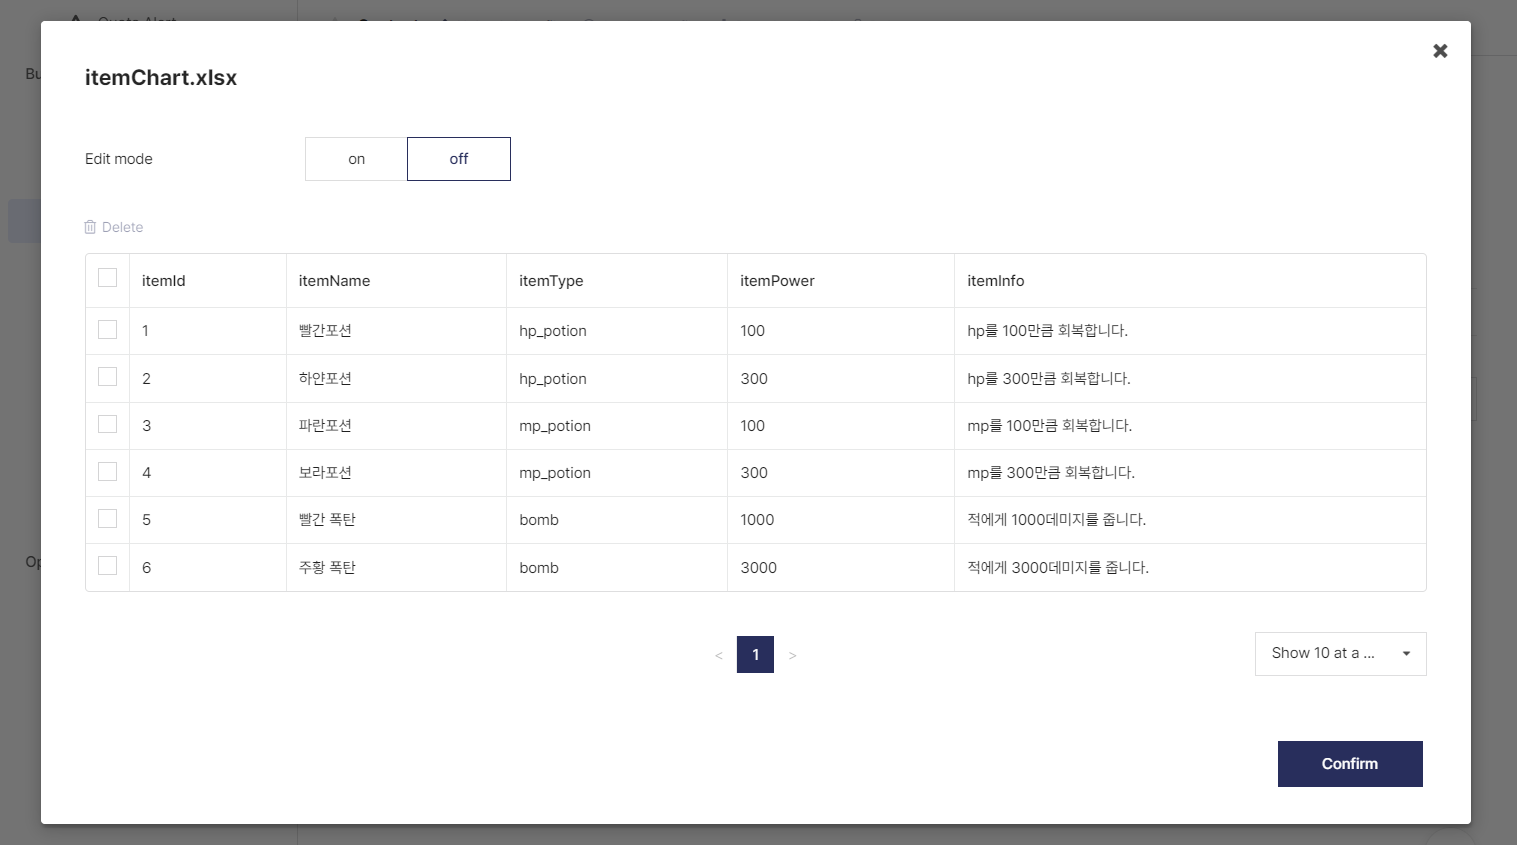
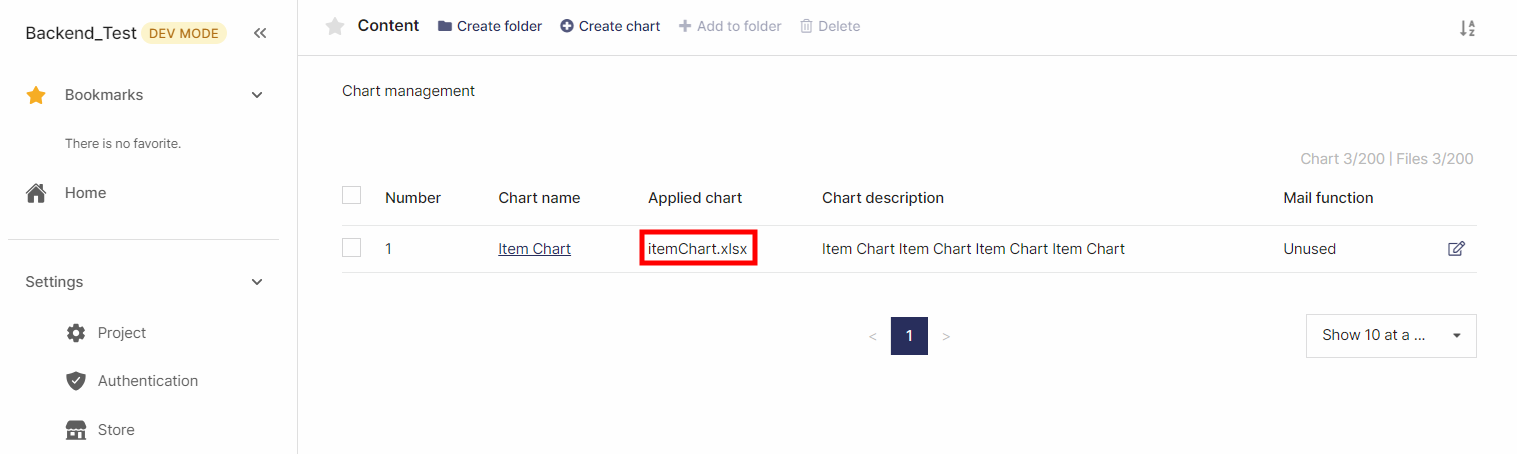
After completing the upload, you can click the corresponding chart to view its content through Excel.

5. Apply chart file
Select the checkbox on the left of the uploaded chart and click the Apply Chart button.
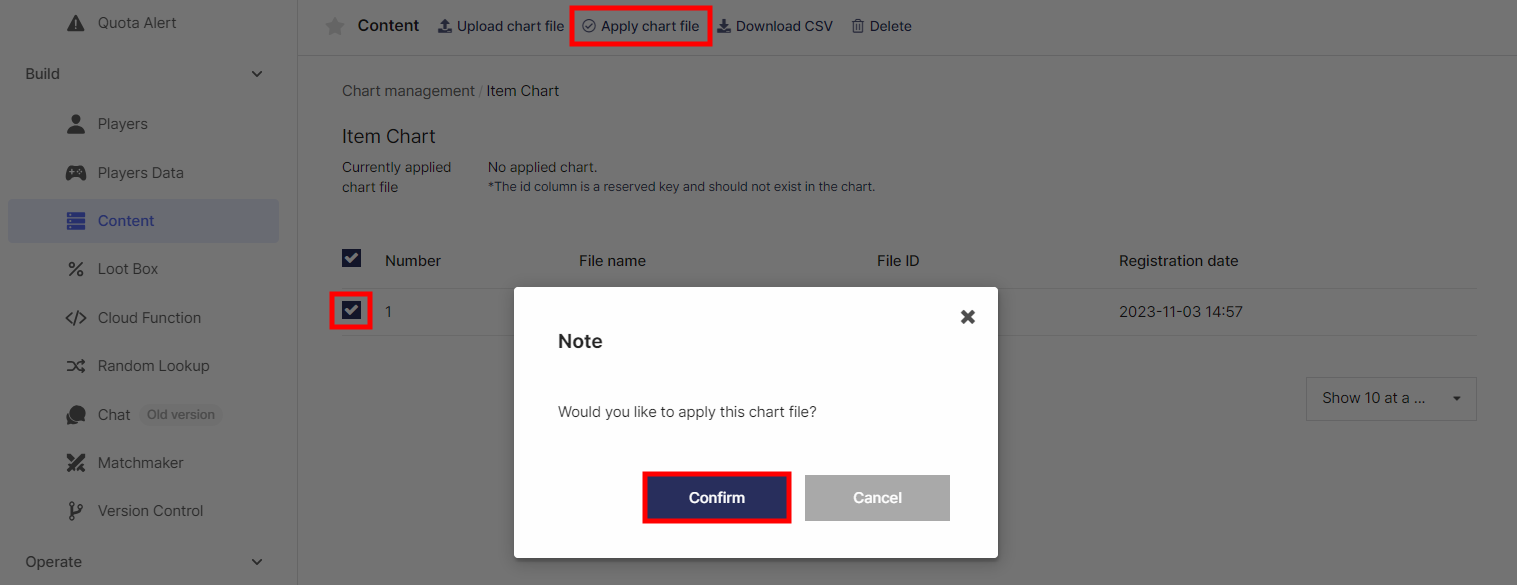
Then, go back to the Chart Management page and check that the uploaded chart has been registered to Applied Charts.